

QReserve Academy
Single Sign-On - ADFS
Single Sign-On with ADFS requires several steps that are outlined here.
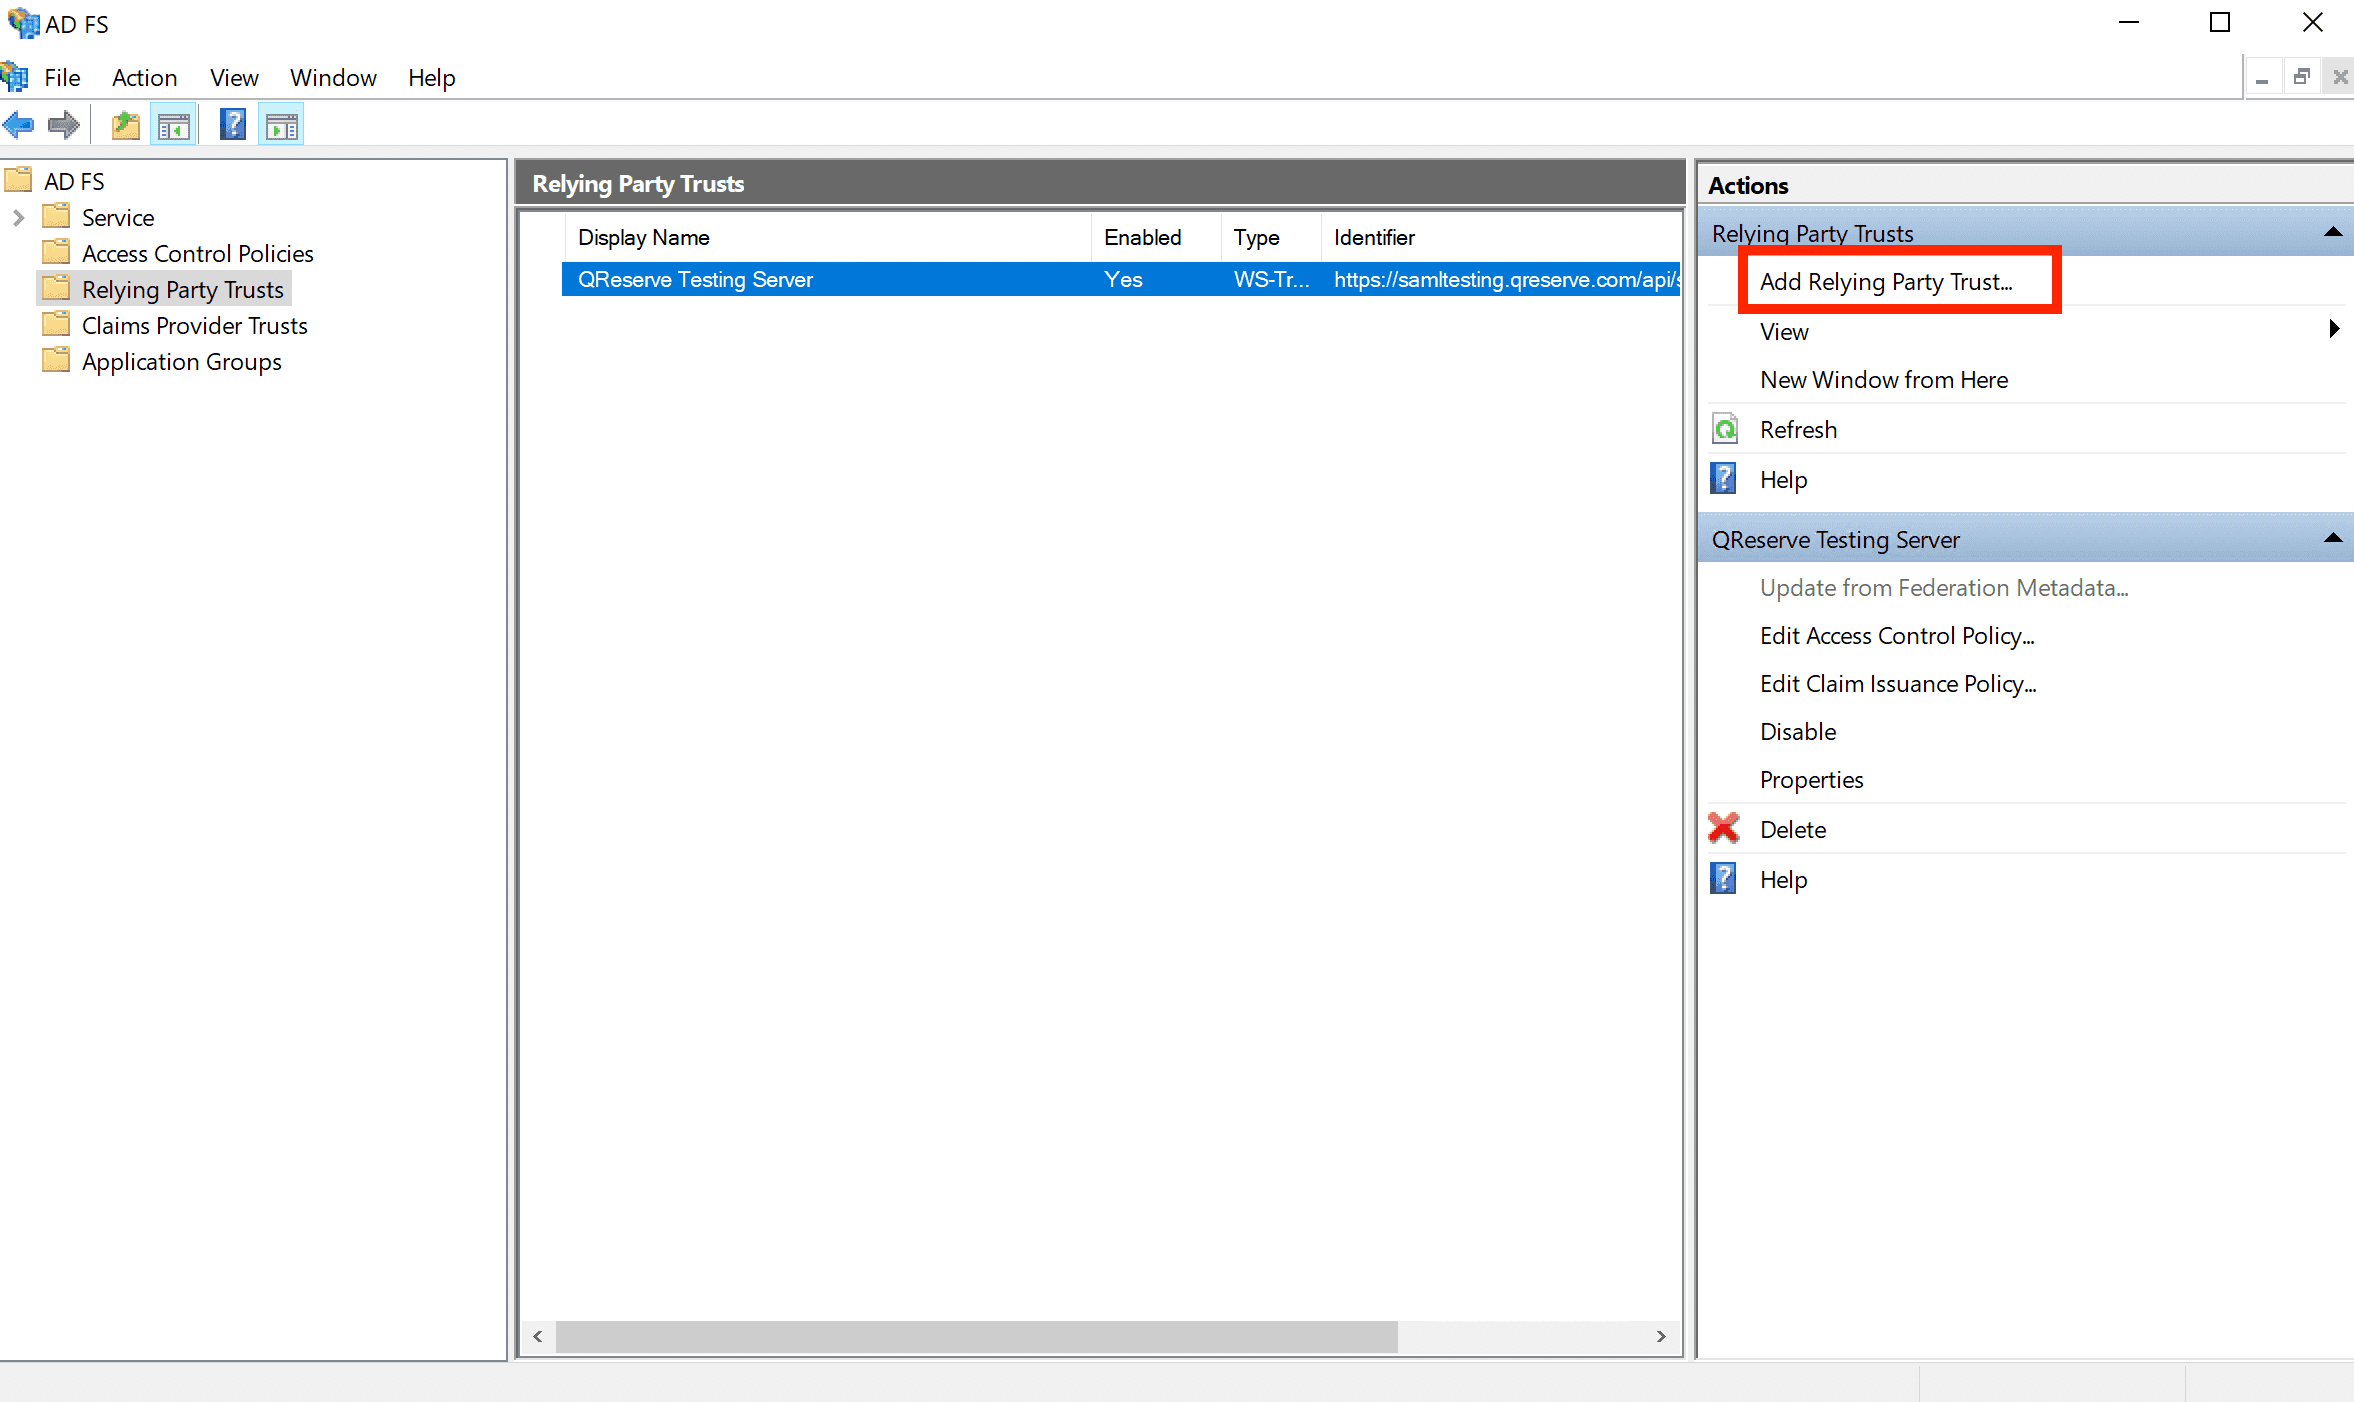
Add Relying Party Trust
- Open the ADFS management snap-in and select Add Relying Party Trust.
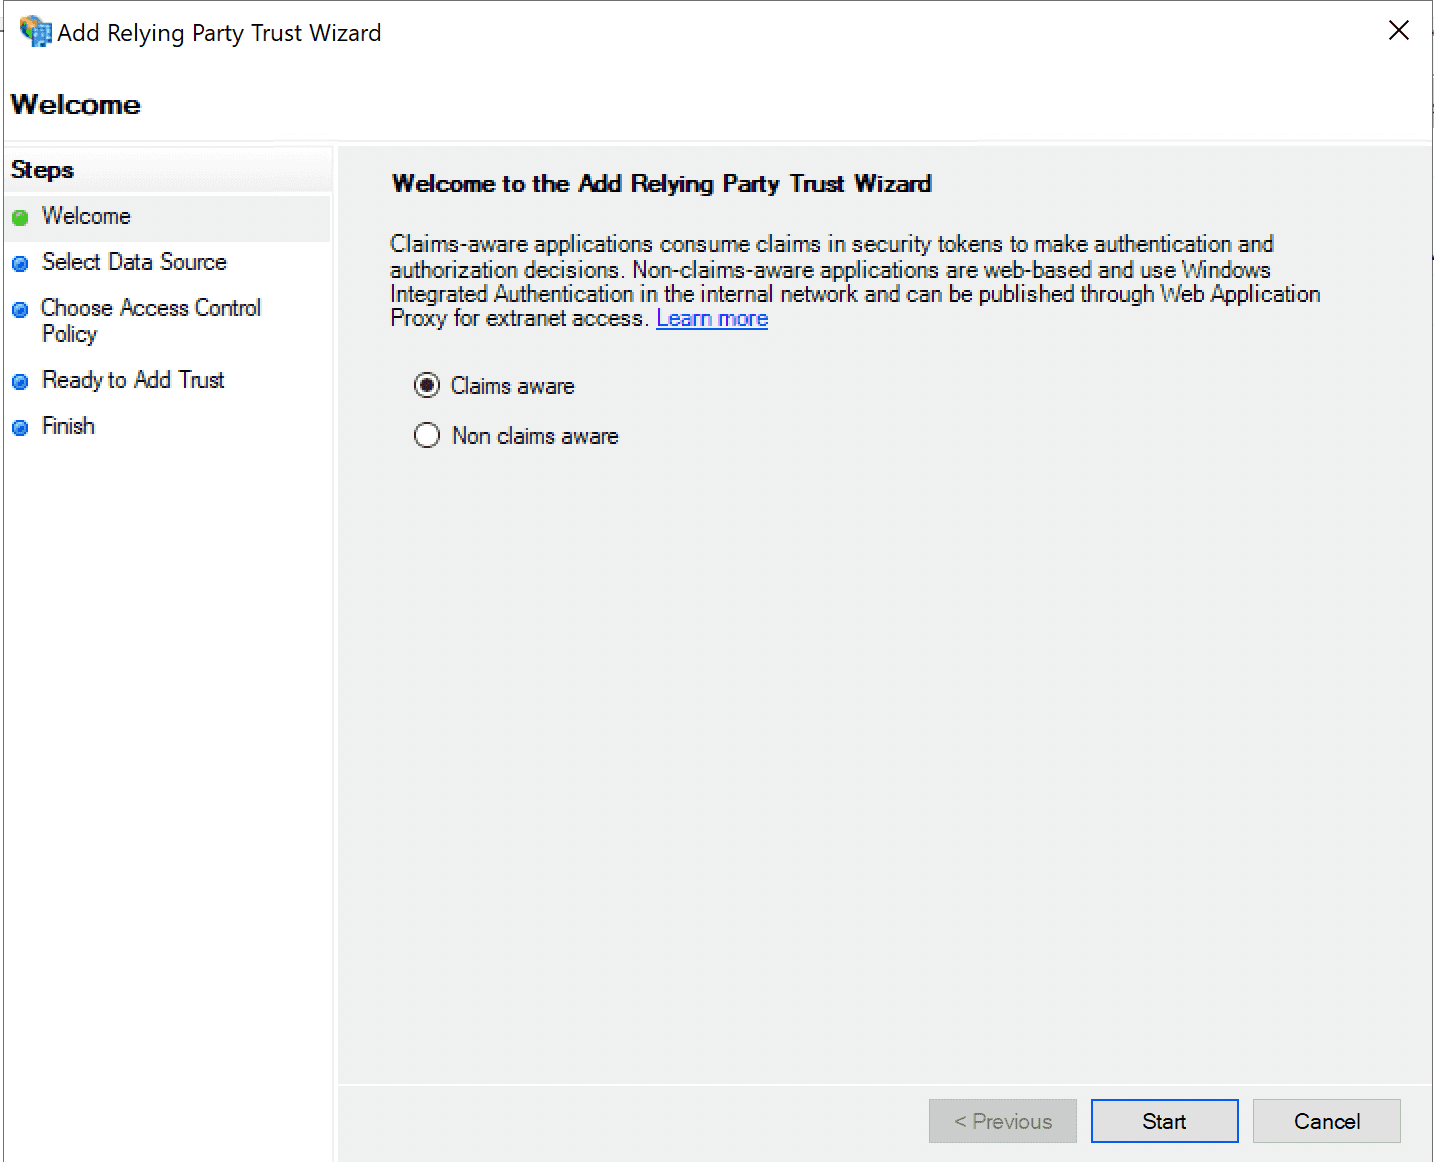
- Ensure Claims aware is selected and click Start.
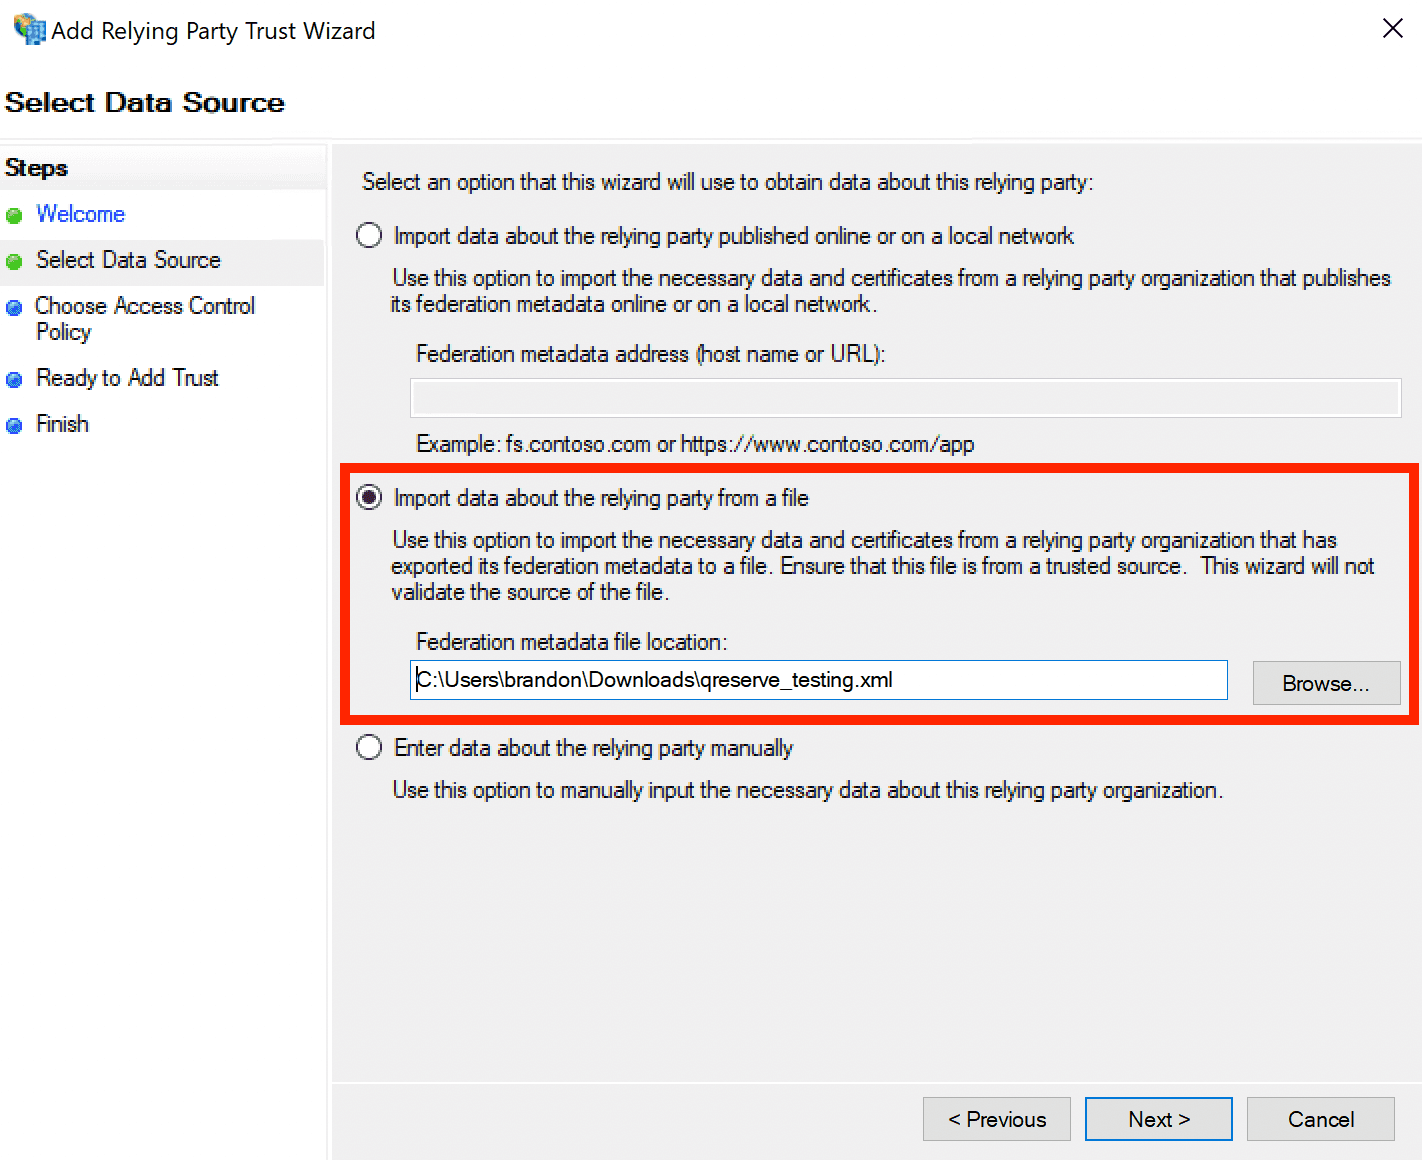
- From the Single Sign-On page download QReserve's metadata, either Testing or Production depending on the stage of testing. Consult with QReserve first on the best implementation strategy for your organization. Use the Import data option and select the metadata file you downloaded. Note that the extension may not by
.xmlso you will have to browse all file types in the Open File dialog.
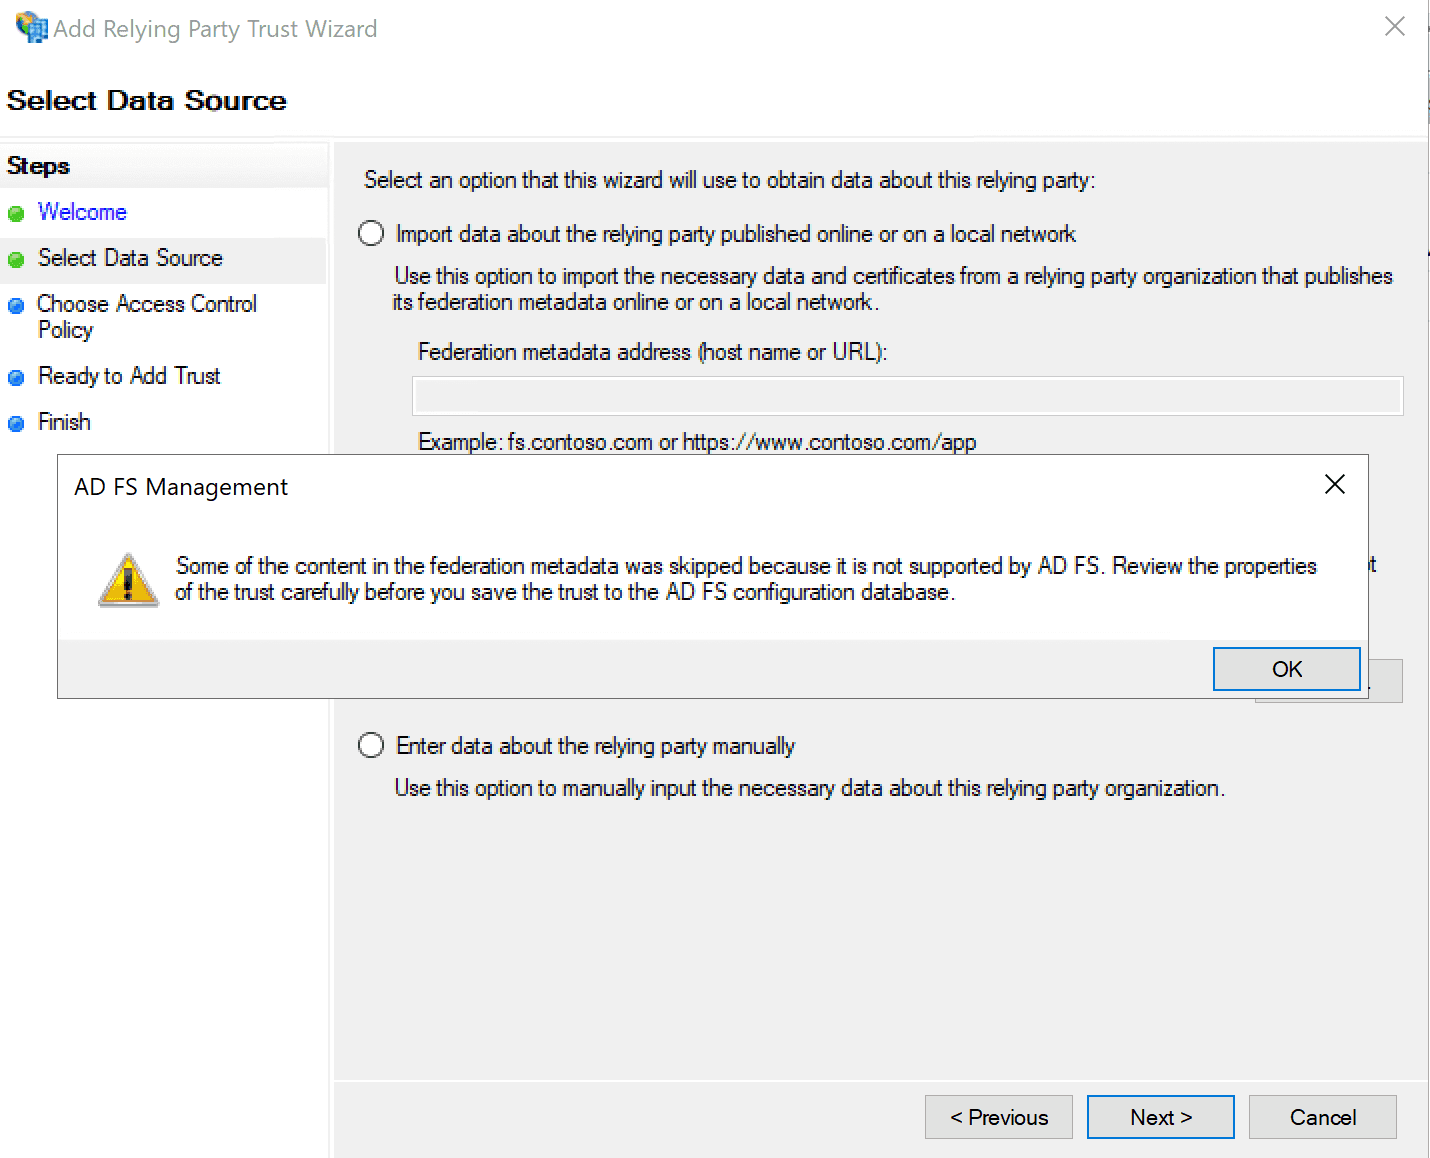
You may see a warning similar to the following that can be safely ignored.
- Give your relying party a name such as QReserve or QReserve Testing Server.

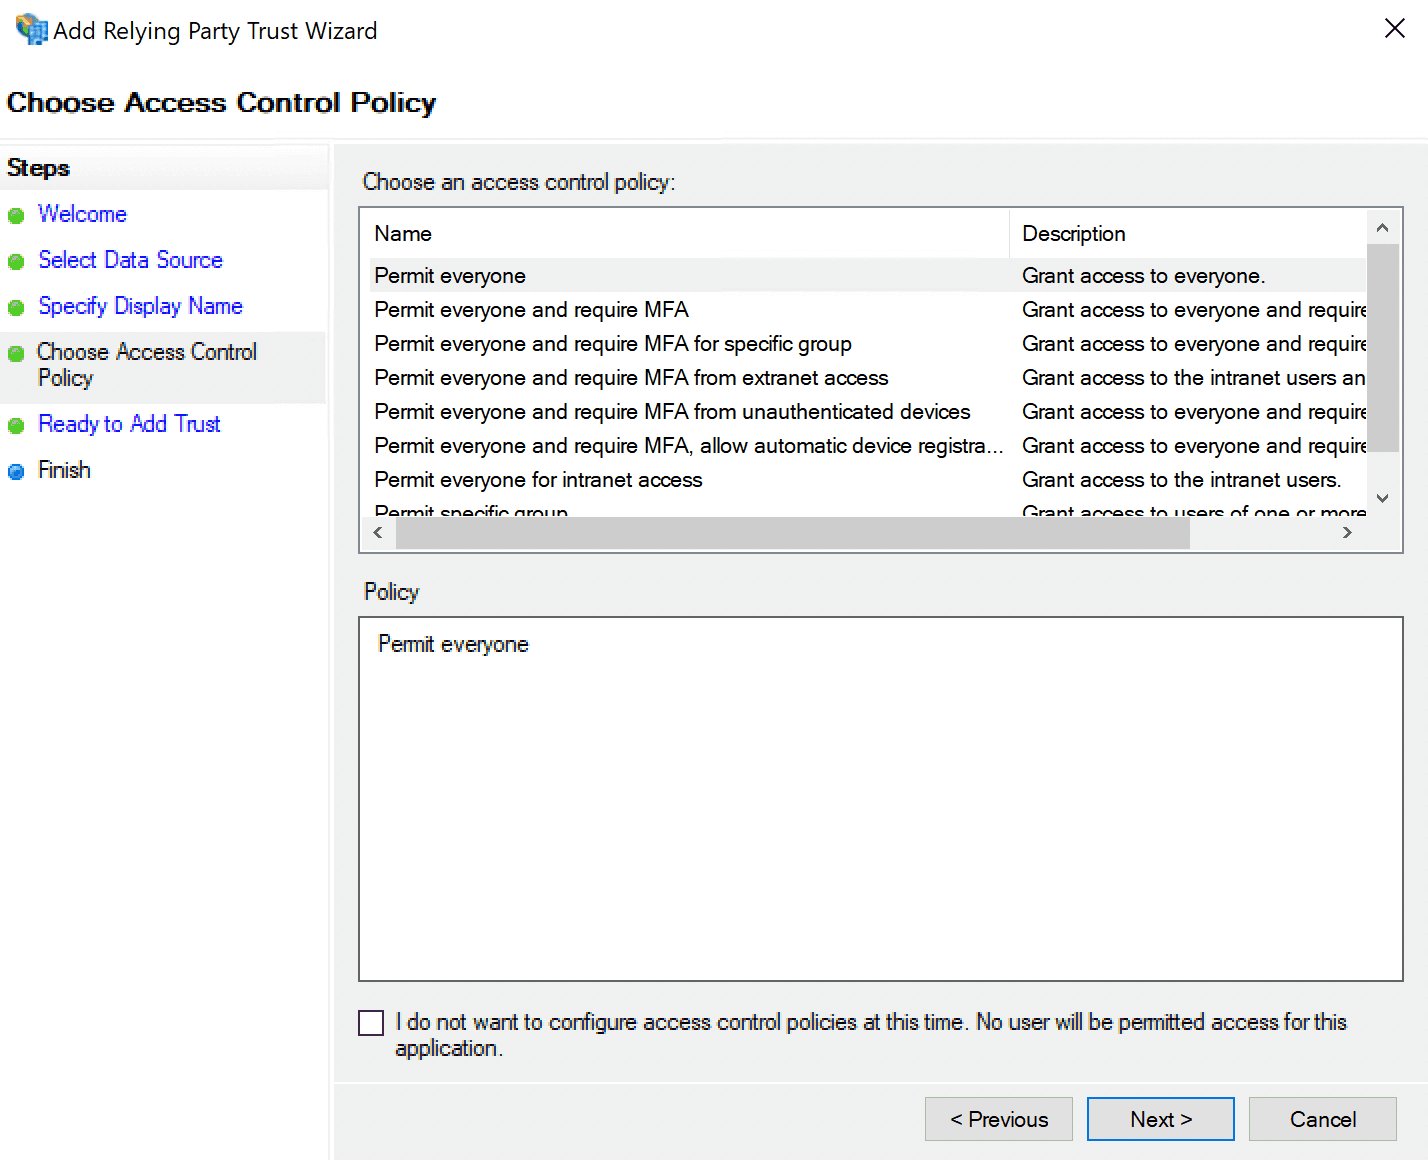
- Decide who should have access or leave the default as Permit everyone.
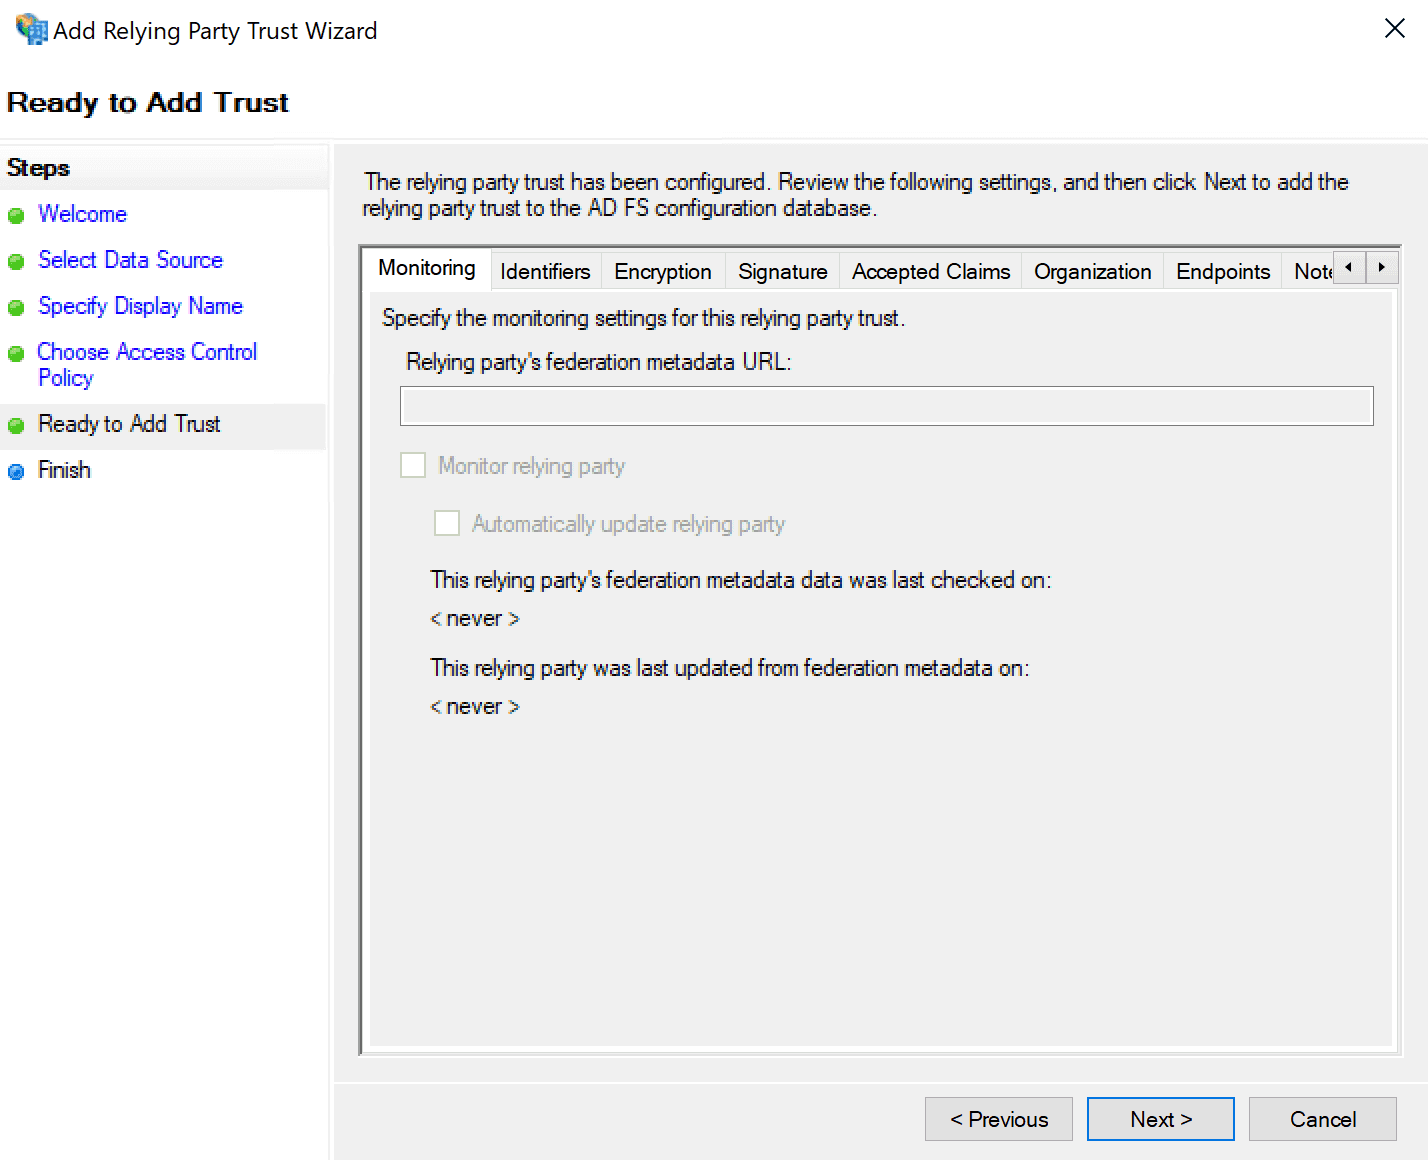
- Select Next and Finish to complete adding your relying trust.
Edit Claim Issuance Policy
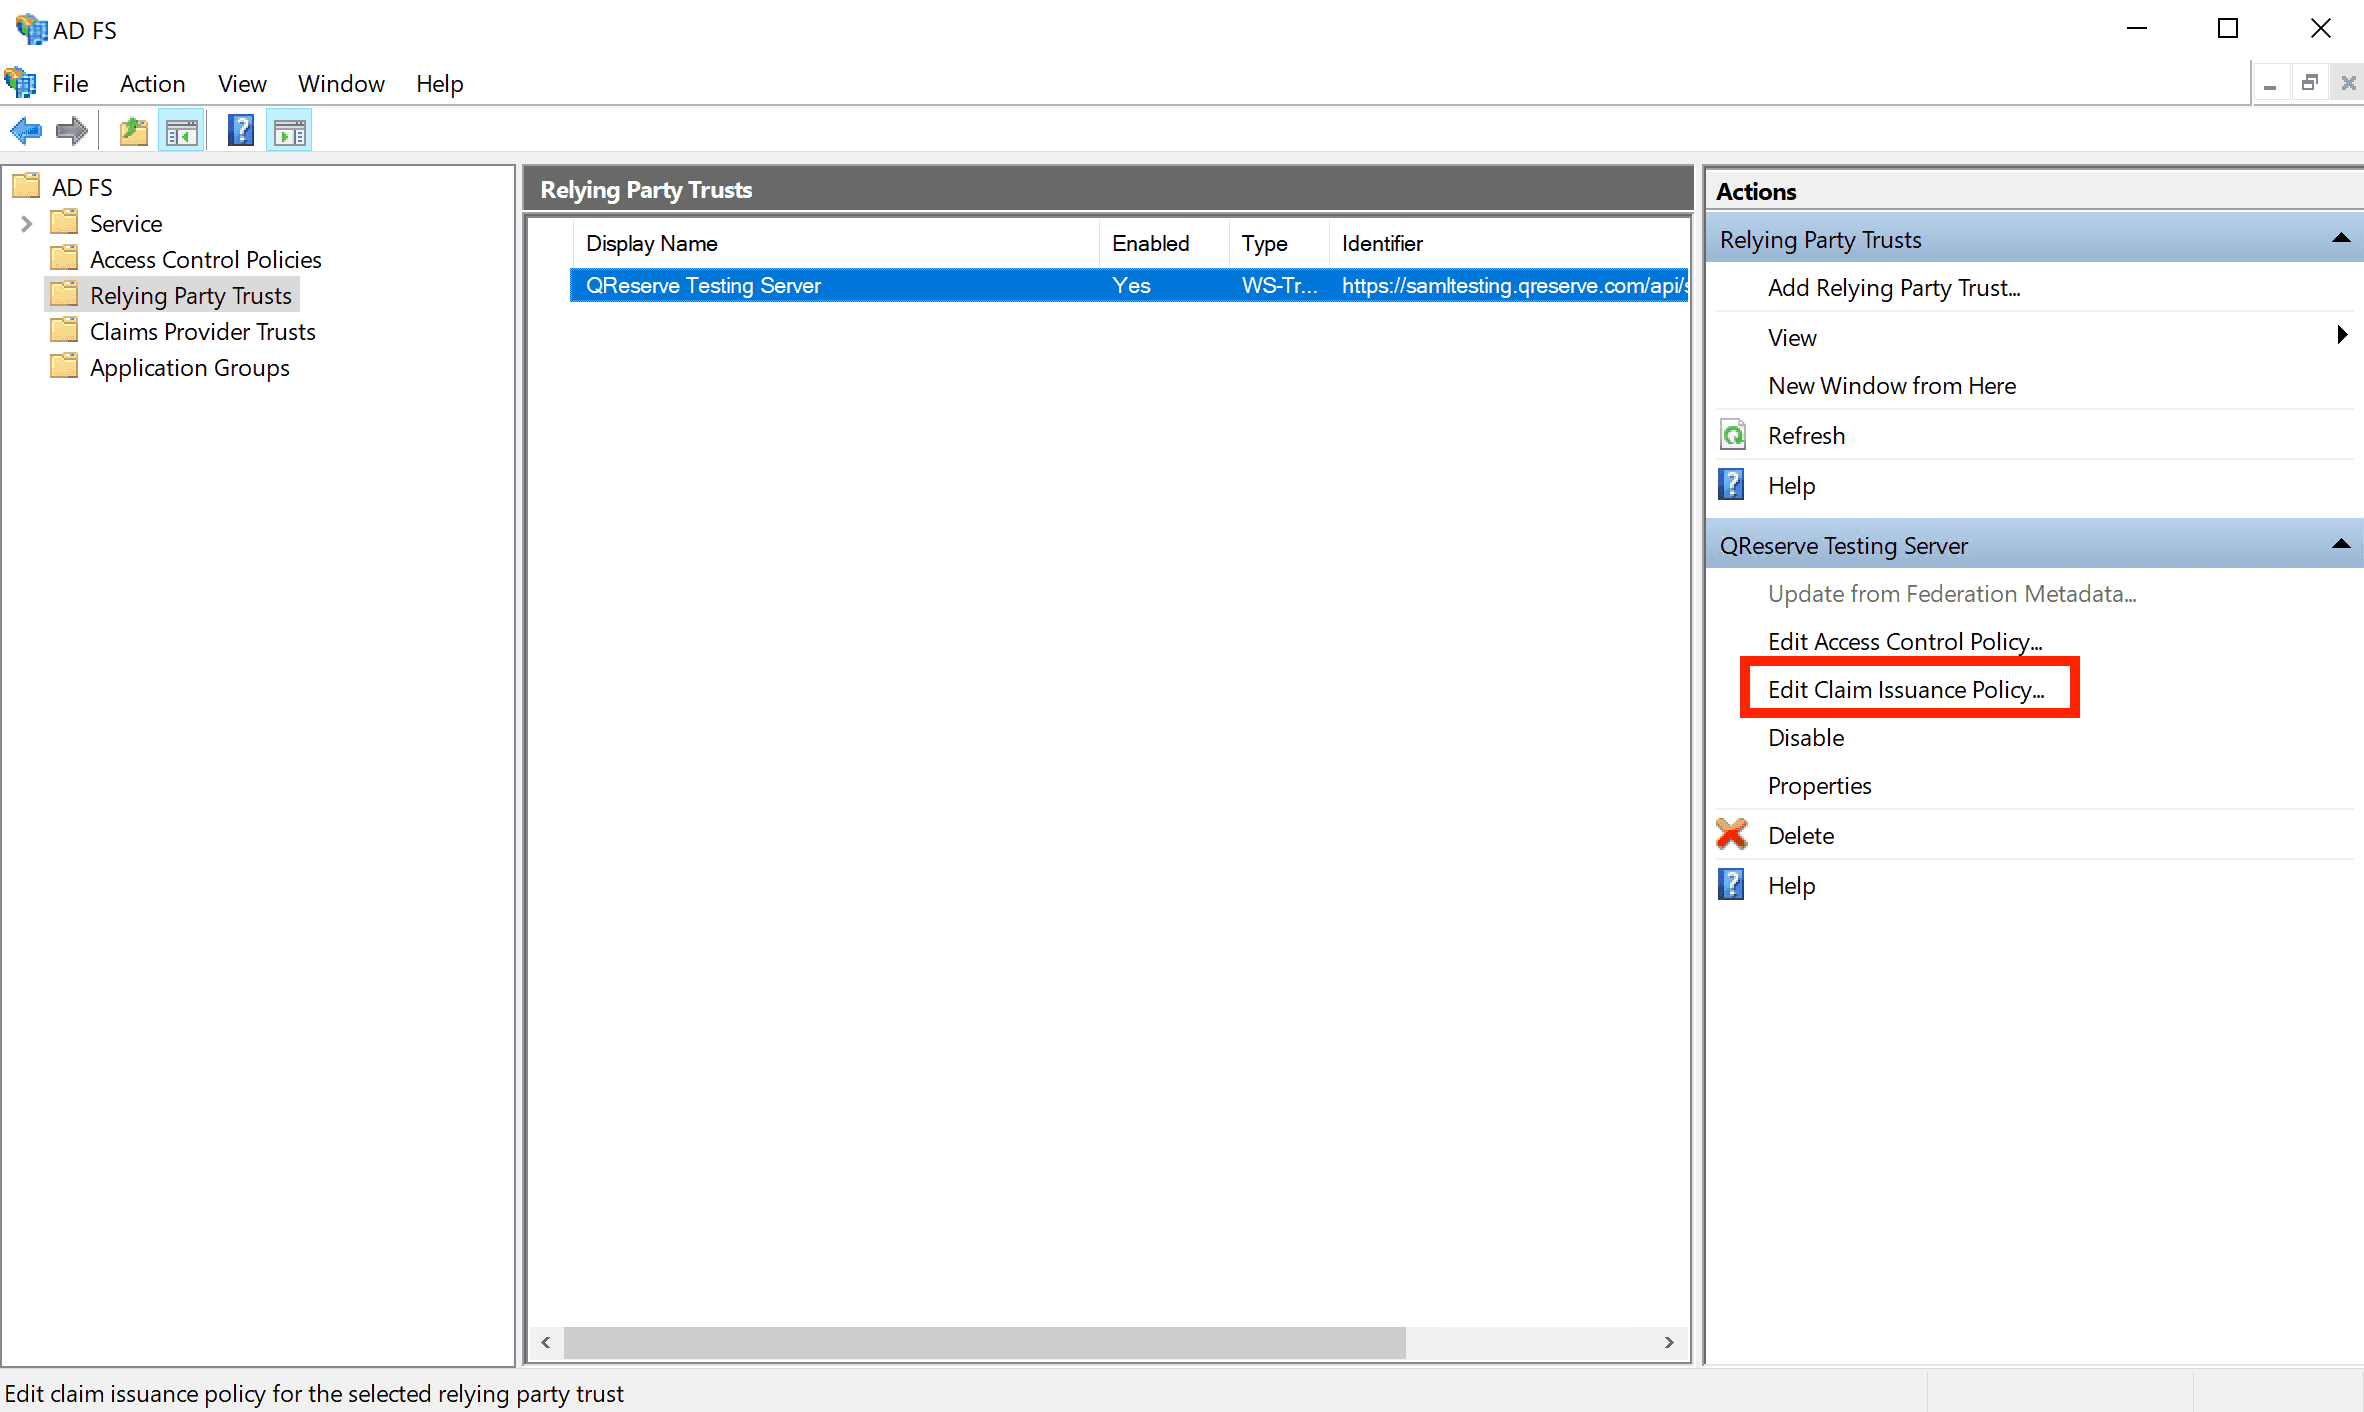
- Next you need to setup claims to issue from your Active Directory. Click Edit Claim Issuance Policy.
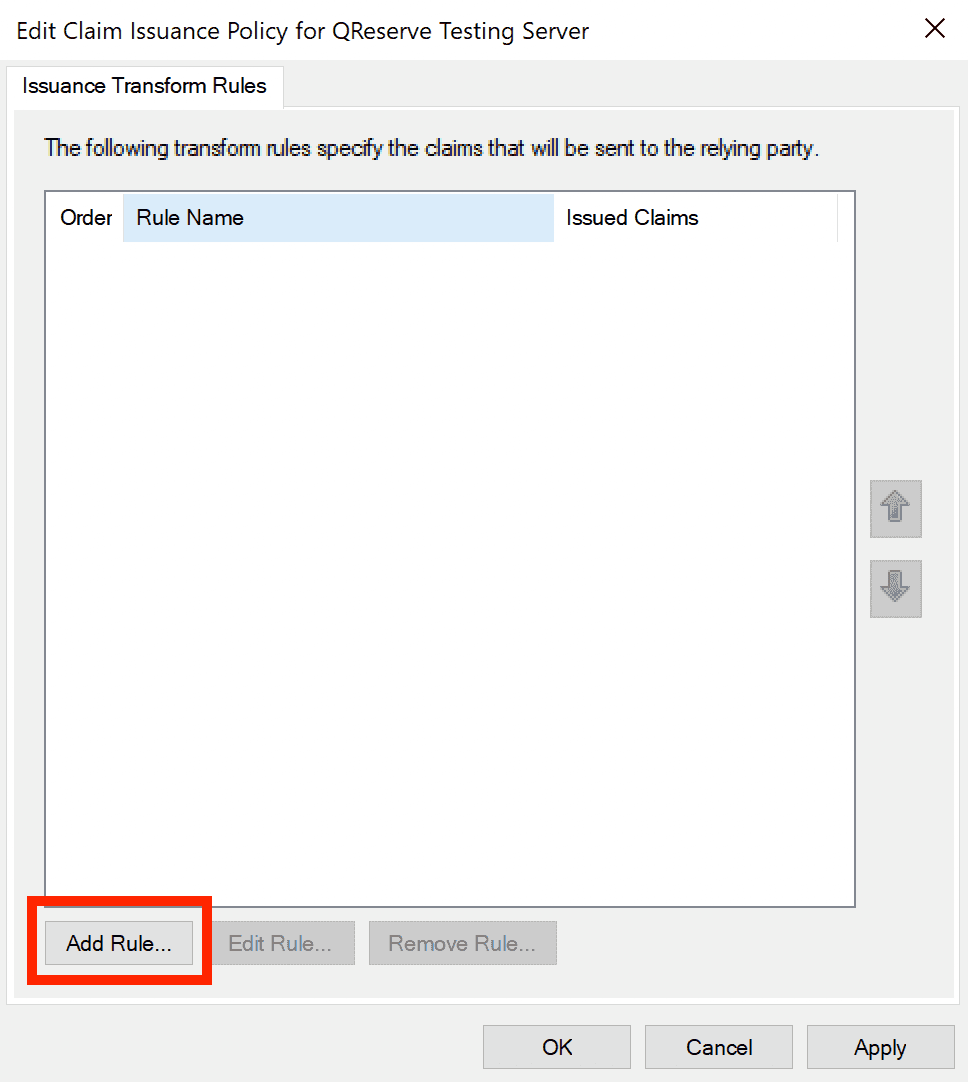
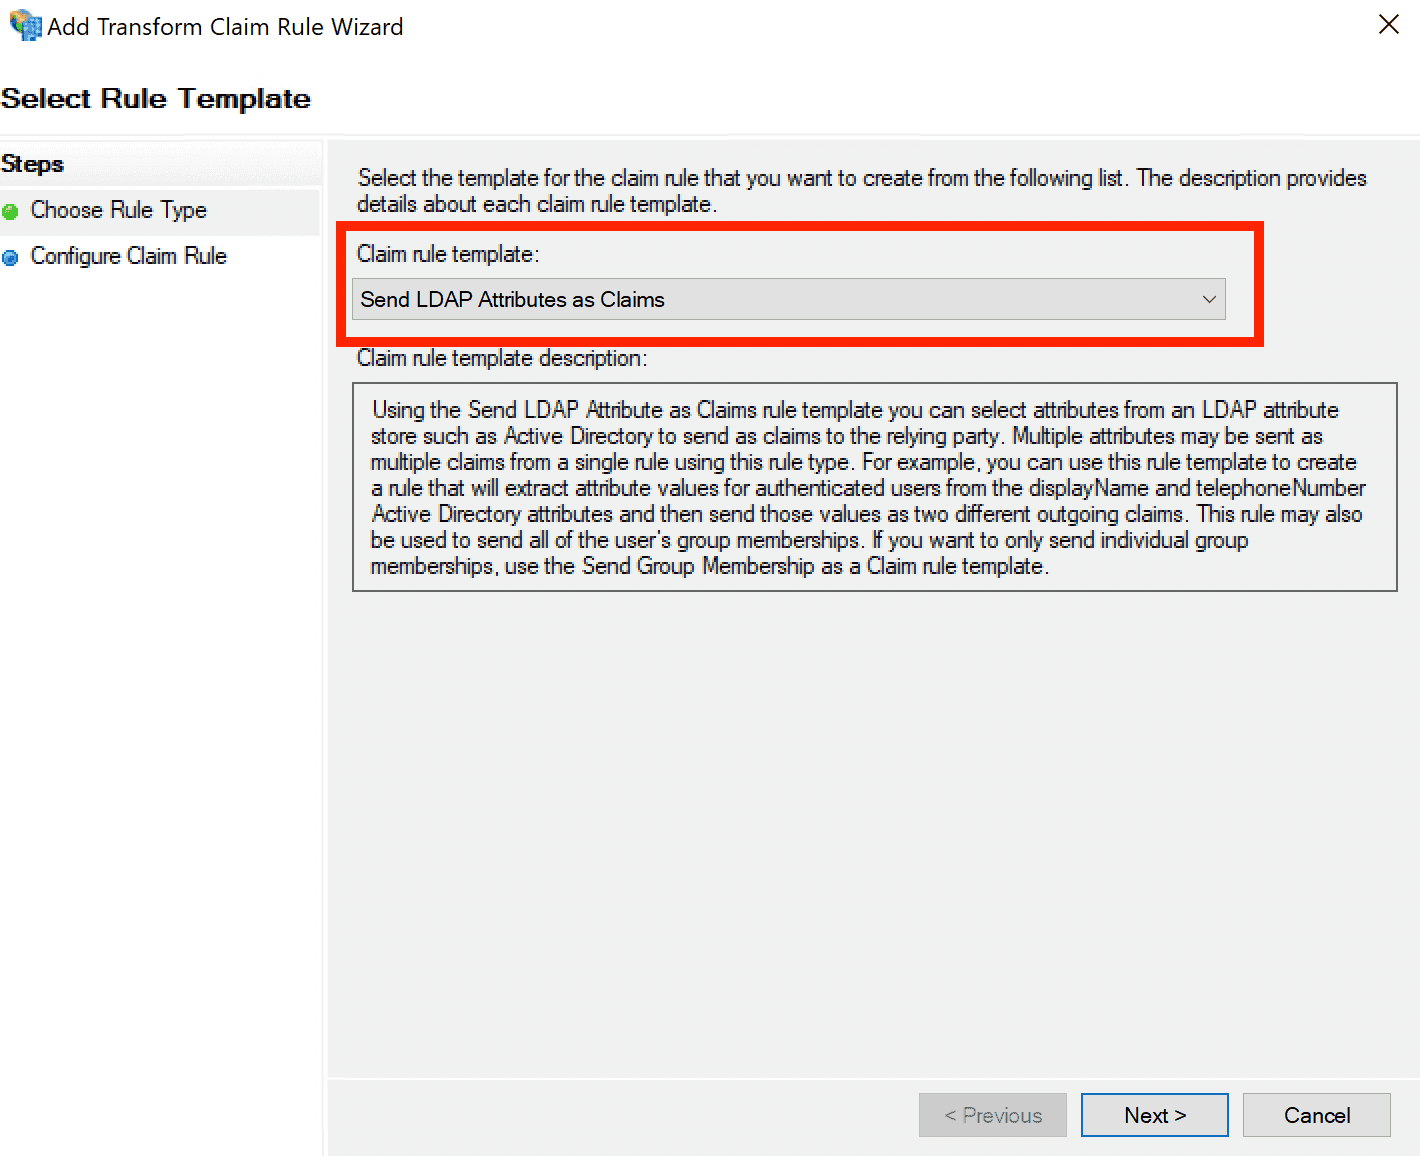
- Click Add Rule to create a new rule.
- The rule template should be Send LDAP Attributes as Claims.
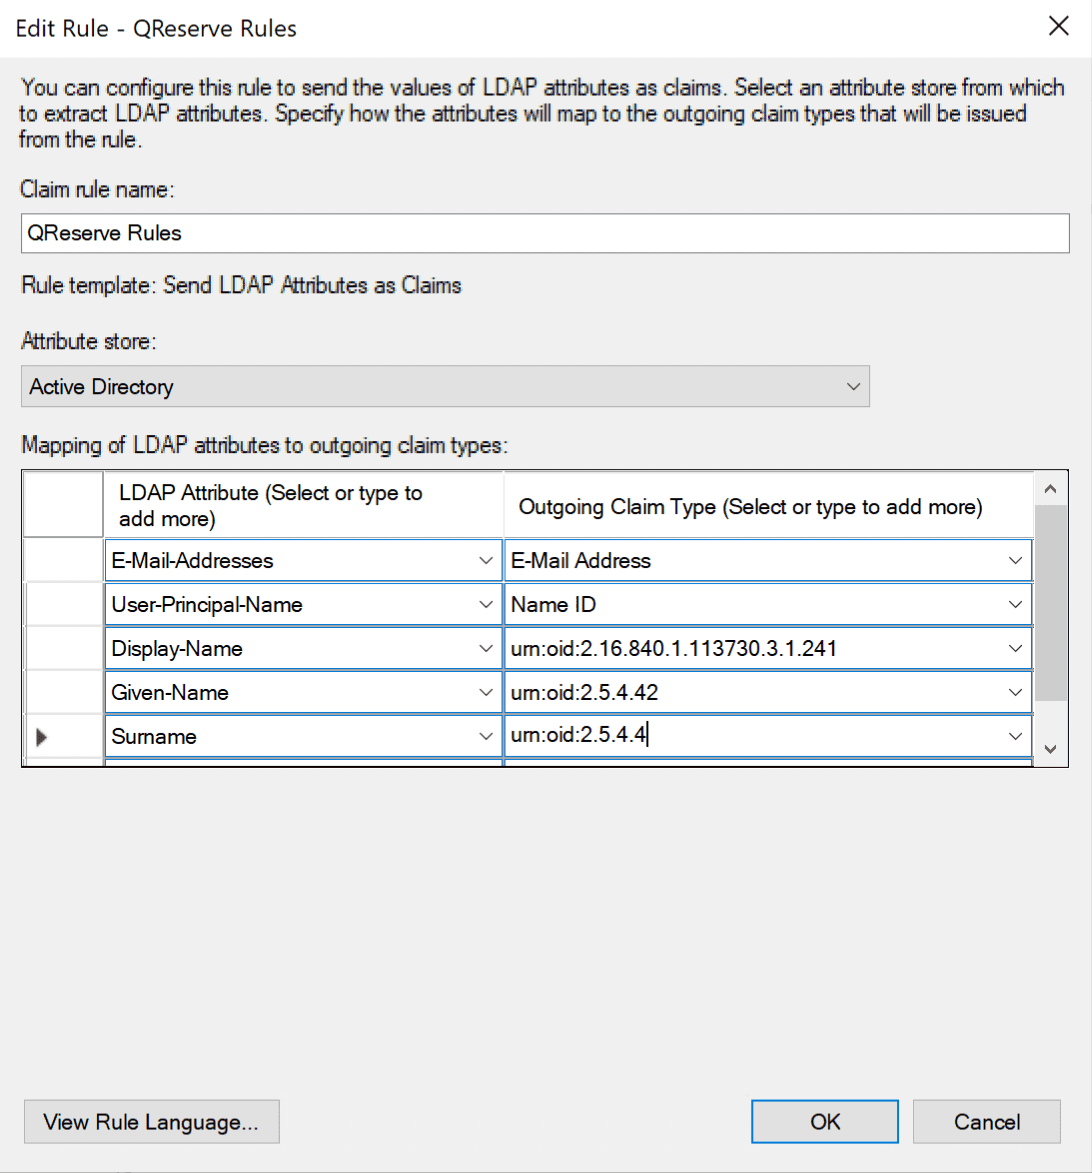
- Give your rule a meaningful name and select Active Directory as the Attribute store. You will need to select two attributes as displayed in the screenshot below:\
E-Mail-Addresses: E-Mail Address
User-Principal-Name: Name ID
Optional: You can also pass in name claims by assigning the following Active Directory fields (left column) to specific URN strings (right column) as follows:
Display Name: urn:oid:2.16.840.1.113730.3.1.241
Given Name: urn:oid:2.5.4.42
Surname: urn:oid:2.5.4.4
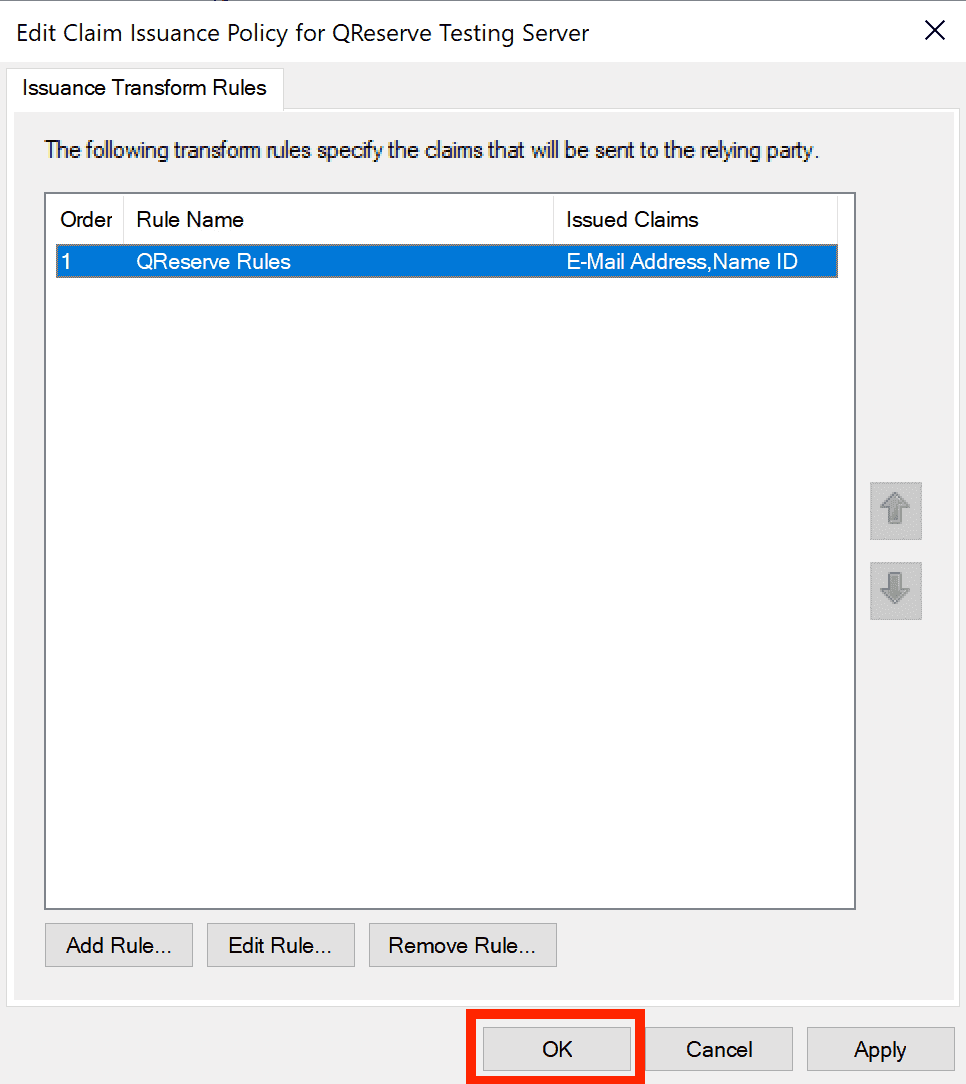
- Click Finish and then click OK to save your rules.
PowerShell Tweaks
Finally, there are two properties of your Relying Party Trust that you must set through PowerShell. In the following command, replace "QReserve Testing Server" with the name of your Relying Party Trust.
Set-AdfsRelyingPartyTrust -TargetName "QReserve Testing Server" -SamlResponseSignature "MessageAndAssertion"`
Set-AdfsRelyingPartyTrust -TargetName "QReserve Testing Server" -SignedSamlRequestsRequired $false
Download Metadata and Submit to QReserve
You must download your metadata and send this to QReserve to setup your integration. You can access your metadata at the following URL where you replace the your.adfs.domain portion with your own AD FS domain:
https://your.adfs.domain/FederationMetadata/2007-06/FederationMetadata.xml
Finally, submit your SSO metadata and request to us on our SSO Request form.